Step into the world of fitness photography sessions in scenic parks with us.
Capturing the essence of health and beauty against the backdrop of nature’s wonders is a true art form.
In our post, we investigate into the magic of combining fitness and photography in picturesque outdoor settings.
Join us as we explore the benefits of these sessions and how they can elevate your fitness journey.
Let’s unlock the secrets of creating stunning visual stories that inspire and motivate.
Key Takeaways
- Selecting the Right Park: Choose parks with diverse scenery, good natural light, easy accessibility, and necessary permits for a successful fitness photography session.
- Essential Gear: Bring along a quality camera, lenses, tripod, reflector, lens filters, and comfortable clothing for capturing high-quality fitness photos in scenic parks.
- Posing and Capturing Tips: Use natural surroundings, engage with the environment, adjust camera settings, and leverage natural light for striking fitness photos in outdoor settings.
- Leveraging Natural Light: Utilize natural light strategically, particularly during golden hour, and interact with the environment to create authentic and visually appealing fitness images.
- Post-Processing Techniques: Enhance fitness photos by adjusting lighting, color correction, and sharpening details during post-processing for stunning visual results.
Choosing the Right Park for Your Fitness Photography Session
When selecting a park for your fitness photography session, consider the following factors:
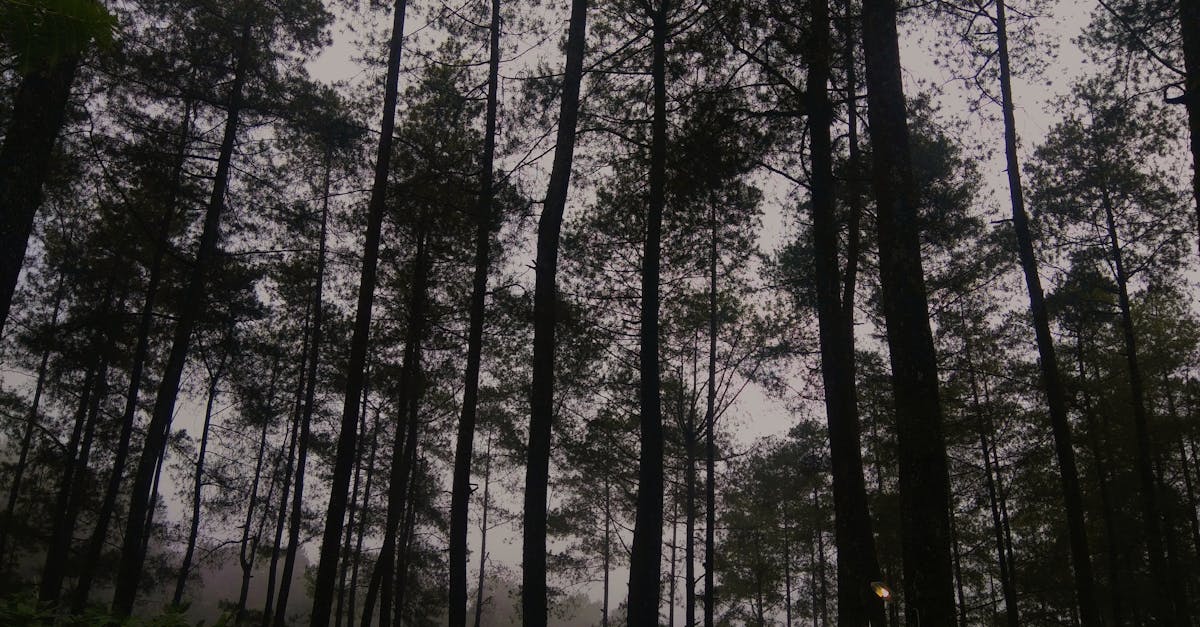
- Scenery: Look for parks with a variety of landscapes like lush greenery, tranquil lakes, or rustic bridges. These settings can add depth and beauty to your photos.
- Natural Light: Opt for parks that offer good natural lighting. Early mornings or late afternoons often provide the best lighting conditions for capturing stunning shots.
- Accessibility: Choose a park that’s easily accessible and allows for seamless movement during your session.
- Permits: Some parks require permits for professional photography. Ensure you have the necessary permissions beforehand to avoid any issues.
Remember, the right park can elevate your fitness photography experience, so choose wisely!
For more tips on selecting the perfect outdoor location, check out this [guide on outdoor photography locations](insert authority link) from professional photographers.
Essential Equipment and Gear for Outdoor Fitness Photography
When heading out to shoot fitness photography in scenic parks, having the right gear can make a significant difference in the quality of your shots. Here’s what we recommend bringing along:
- Camera: A quality DSLR or mirrorless camera for high-resolution images.
- Lenses: Wide-angle lens for capturing landscapes and a portrait lens for close-up shots.
- Tripod: Essential for stability, especially in low light conditions.
- Reflector: Helps bounce light onto subjects for better lighting.
- Lens Filters: Polarizing or ND filters can enhance colors and control light.
- Comfortable Clothing and Footwear: Stay comfortable while moving around to get the perfect shot.
For more detailed advice on choosing the right equipment for outdoor photography, check out this guide on National Park Service’s recommendations.

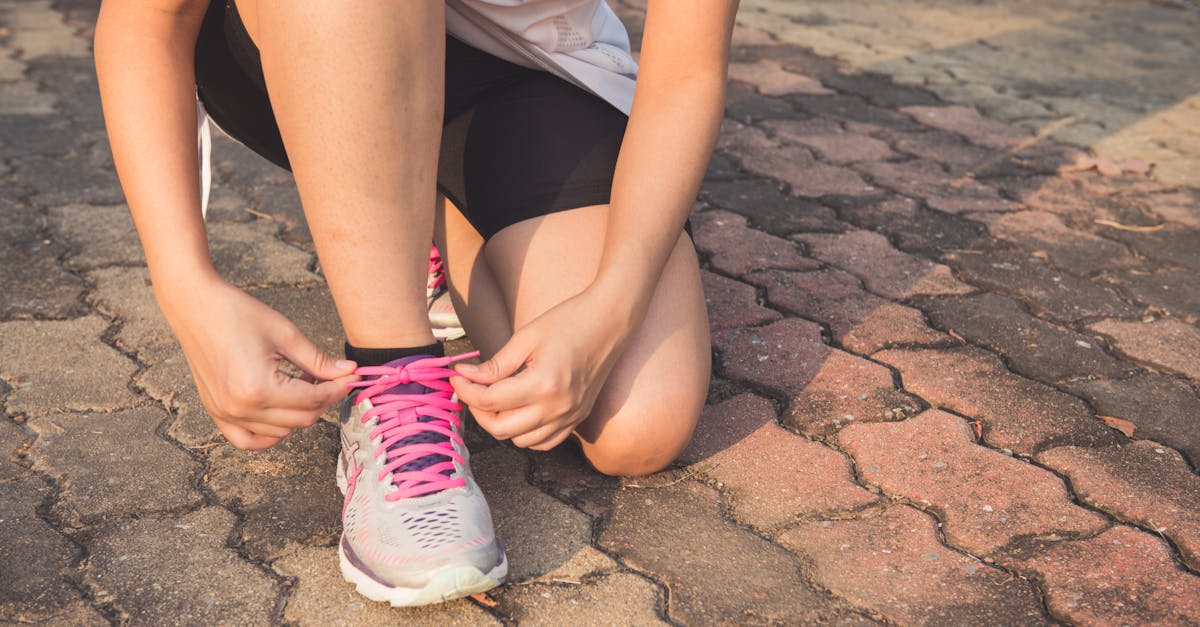
Tips for Posing and Capturing the Perfect Shot in Scenic Parks
When posing for fitness photos in parks:
- Use natural surroundings like trees and trails.
- Engage with the environment to convey authenticity.
To capture the perfect shot:
- Adjust your camera settings for world shots.
- Use natural light for flattering photos.
Remember, practice makes perfect, so keep honing your skills. For more detailed guidance on posing and capturing beautiful shots in outdoor settings, check out this guide from the National Park Service.
Leveraging Natural Light and Environment in Your Fitness Photography
When it comes to fitness photography, we can’t underestimate the power of natural light and the environment surrounding us. These elements can make or break a shot. By utilizing the sunlight at different times of the day, we can achieve flattering and natural-looking photos that capture the essence of our subject in a scenic park setting.
Position yourself strategically to make the most of golden hour, the period shortly after sunrise or before sunset when the light is soft and warm. This can add a beautiful glow to your photos and enhance the overall mood. Shadows can also play a crucial role in creating depth and dimension in your images, so embrace them in your composition.
Remember, interacting with the natural environment can add authenticity to your fitness photography. Incorporate trees, trails, and other elements of the park into your shots to create a sense of place and connection. These simple adjustments can elevate your images to the next level.
For more tips on maximizing natural light in outdoor photography, check out the National Park Service guide on world photography.

Editing and Post-Processing Techniques for Stunning Fitness Photos
When it comes to editing and post-processing fitness photos taken in scenic parks, we aim to enhance the natural beauty captured during the session. Here’s a quick rundown of techniques we use to elevate the final results:
- Adjusting Lighting: We tweak the brightness and contrast to ensure the subject stands out against the park’s backdrop.
- Color Correction: Our goal is to maintain the park’s vibrant hues while keeping the fitness enthusiast’s attire true to life.
- Sharpening Details: We enhance the fine details of muscles and features to showcase the hard work put into fitness.
For more in-depth insights into post-processing techniques, visit this guide for a step-by-step breakdown of advanced editing methods.